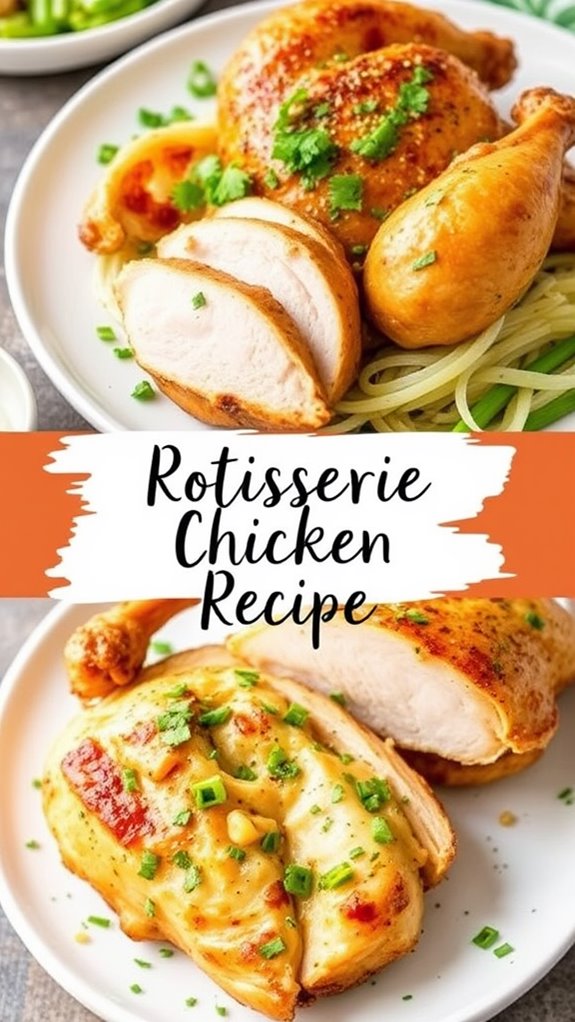
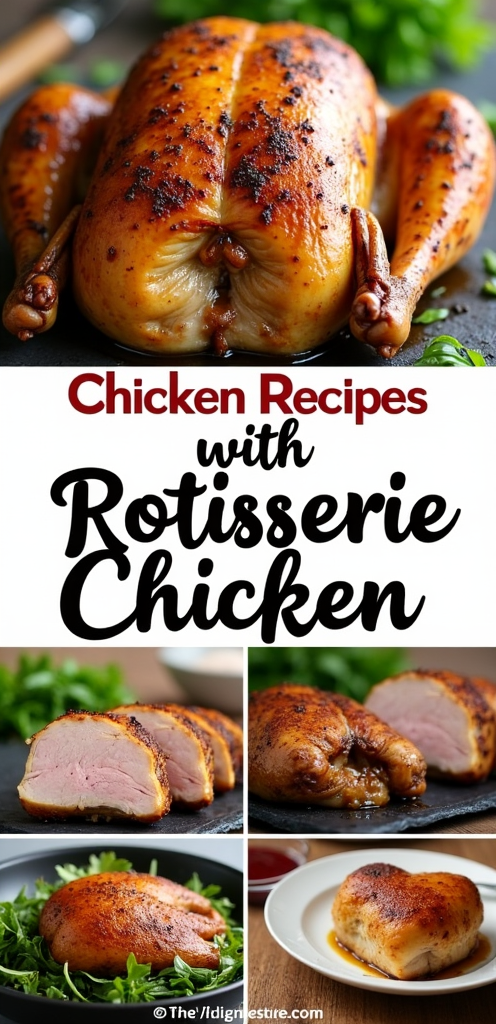
Chicken Recipes With Rotisserie Chicken
You can create quick dinners, flavorful lunches, and satisfying snacks with rotisserie chicken. This convenient ingredient not only saves you time in the kitchen but also offers endless possibilities for delicious meals. Whether you’re whipping up a savory casserole or a fresh salad, rotisserie chicken can be the star of your dish. Imagine how easy it is to transform this pre-cooked chicken into something unique and satisfying. What’s even more intriguing are the unexpected combinations and cuisines you can explore, which might just surprise you.
Why You’ll Love This Recipe
When you’re short on time but still want a delicious meal, rotisserie chicken is your best friend. It’s pre-cooked and ready to eat, which means you can whip up a tasty dish in no time. You can shred or dice the chicken and use it in a variety of meals, like salads, wraps, or soups. Many recipes require minimal cooking, making it perfect for quick weeknight dinners. Plus, rotisserie chicken is a lean protein source packed with essential nutrients, like B vitamins and minerals. In fact, nearly 1 billion rotisserie chickens are consumed yearly in the US, highlighting its popularity and convenience. Whether you’re looking for a simple meal or something more adventurous, it can easily adapt to different cuisines and dietary needs. With rotisserie chicken, meal prep becomes faster and healthier!
History
Rotisserie chicken isn’t just a modern convenience; its history stretches back centuries. You might be surprised to learn that medieval European art from the 14th century shows its early roots.
Recipes like “Chicken Endored,” dating to around 1450, featured spices such as saffron and ginger. Napoleon himself prized this dish, which hints at its popularity. Different cultures adapted it, with Brazilian churrascarias and Hawaiian huli huli chicken being prime examples.
In the 1950s, Roger Schuler introduced “pollo a la brasa” in Peru, marinating and cooking chicken over special coals. This dish was later recognized as a staple of Peruvian cuisine, highlighting the cultural significance of rotisserie chicken.
Innovations like the El Rotombo oven helped commercialize rotisserie chicken, leading to its widespread popularity, especially in North America with the rise of chains like Boston Market.
Recipe

Recipe: Rotisserie Chicken on a Pellet Grill****
Cooking a perfectly juicy and flavorful rotisserie chicken at home is easier than you might think, especially with the help of a pellet grill and a rotisserie attachment. This method not only guarantees even cooking but also allows the chicken to baste in its own juices, resulting in an incredibly moist and tasty dish. Additionally, rotisserie chicken provides lean protein without excess oil, making it a healthy option for any meal.
With a blend of simple spices and the magic of rotisserie cooking, you’ll have a delightful centerpiece for any meal. Before you start, verify you have all your ingredients ready and your grill preheated to the right temperature. The combination of paprika, garlic salt, and pepper will give your chicken a beautiful golden color and a savory depth of flavor.
Follow the steps below, and enjoy the warm and inviting aroma of a home-cooked rotisserie chicken wafting through your kitchen.
Ingredients:
– 1 whole chicken (3-4 lbs)
– 2 tablespoons paprika
– 1 tablespoon garlic salt
– 1 teaspoon black pepper
– ½ cup melted butter
– Optional: kitchen twine for trussing
Cooking Instructions:
- Preheat your pellet grill with the rotisserie attachment to 500 degrees F. While the grill is warming up, pat the chicken dry with a paper towel to guarantee crispy skin.
- In a small bowl, mix together the paprika, garlic salt, and black pepper. Divide this mixture in half, using one part to rub generously over the entire chicken and the other part to mix into the melted butter.
- Secure the chicken onto the rotisserie spit, making sure it’s balanced and secure. Place the spit onto the grill and cook for 25 minutes at 500 degrees F.
- After 25 minutes, reduce the grill temperature to 350 degrees F. Continue to cook the chicken for an additional 50 minutes, basting it with the spiced melted butter every 15 minutes until all the butter is used.
- Use a meat thermometer to check for doneness; the internal temperature should reach 165 degrees F, and the juices should run clear. Once cooked, carefully remove the chicken from the grill.
- Tent the chicken with tin foil and let it rest for 10 minutes before carving. This allows the juices to redistribute, guaranteeing a moist and flavorful chicken.
Extra Tips:
To enhance your cooking experience, consider trussing the chicken with kitchen twine to keep it compact and guarantee even cooking.
Basting the chicken regularly is essential for maintaining moisture and achieving crispy skin. Always adjust the cooking time based on the size of your chicken, and don’t forget to use a meat thermometer for accurate doneness.
Finally, placing a disposable tray under the rotisserie will help catch any drippings for easy cleanup. Enjoy your delicious rotisserie chicken!
Final Thoughts
As you explore the world of rotisserie chicken, you’ll find it an incredibly versatile and convenient ingredient that can elevate your meals with minimal effort.
This cost-effective protein saves time in meal prep and fits seamlessly into various dishes, from casseroles to salads and sandwiches. You can easily plan a week’s worth of meals, including favorites like chicken Alfredo stuffed shells or BBQ chicken pizza. One of the most popular uses for rotisserie chicken is in Chicken-Based Casserole recipes, which offer a comforting and hearty option for family dinners.
To keep things fresh, consider using leftovers in soups or salads. With resources available online and in cookbooks, you’ll discover countless recipes and tips.
Embrace the flexibility of rotisserie chicken, whether you serve it hot or cold, and enjoy the variety it brings to your table. Your meals will never be boring again!
FAQ
Got questions about using rotisserie chicken in your meals? You can incorporate it into salads, soups, casseroles, and pasta dishes for quick and nutritious options.
It’s perfect for international recipes, like Asian-inspired soups or Mexican casseroles. You can even add it to breakfast meals, such as omelets or quesadillas. Additionally, leftover rotisserie chicken can be a great way to reduce food waste while enjoying delicious meals.
For pasta dishes, try garlic herb rotisserie chicken pasta or chicken lasagna. Don’t forget to refrigerate any leftovers for up to 3-4 days.
Using fresh herbs and spices enhances flavor, and if you’re baking, basting the chicken helps keep it juicy. Specialty dishes like chicken, spinach, and artichoke lasagna or BBQ chicken twice-baked sweet potatoes are also delicious choices worth exploring!

Chicken Recipes With Rotisserie Chicken
Ingredients
- Ingredients:
- - 1 whole chicken 3-4 lbs
- - 2 tablespoons paprika
- - 1 tablespoon garlic salt
- - 1 teaspoon black pepper
- - ½ cup melted butter
- - Optional: kitchen twine for trussing
Instructions
- Cooking Instructions:
- Preheat your pellet grill with the rotisserie attachment to 500 degrees F. While the grill is warming up, pat the chicken dry with a paper towel to guarantee crispy skin.
- In a small bowl, mix together the paprika, garlic salt, and black pepper. Divide this mixture in half, using one part to rub generously over the entire chicken and the other part to mix into the melted butter.
- Secure the chicken onto the rotisserie spit, making sure it's balanced and secure. Place the spit onto the grill and cook for 25 minutes at 500 degrees F.
- After 25 minutes, reduce the grill temperature to 350 degrees F. Continue to cook the chicken for an additional 50 minutes, basting it with the spiced melted butter every 15 minutes until all the butter is used.
- Use a meat thermometer to check for doneness; the internal temperature should reach 165 degrees F, and the juices should run clear. Once cooked, carefully remove the chicken from the grill.
- Tent the chicken with tin foil and let it rest for 10 minutes before carving. This allows the juices to redistribute, guaranteeing a moist and flavorful chicken.

